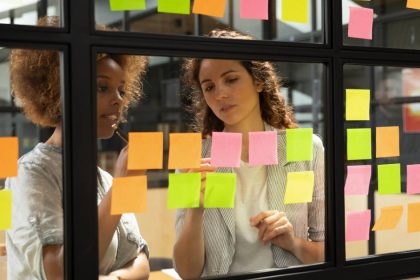
To celebrate National Science Week, 12 August – 20 August, EducationDaily is publishing a series of STEM-focused articles featuring inspiring Australians and innovative ideas.
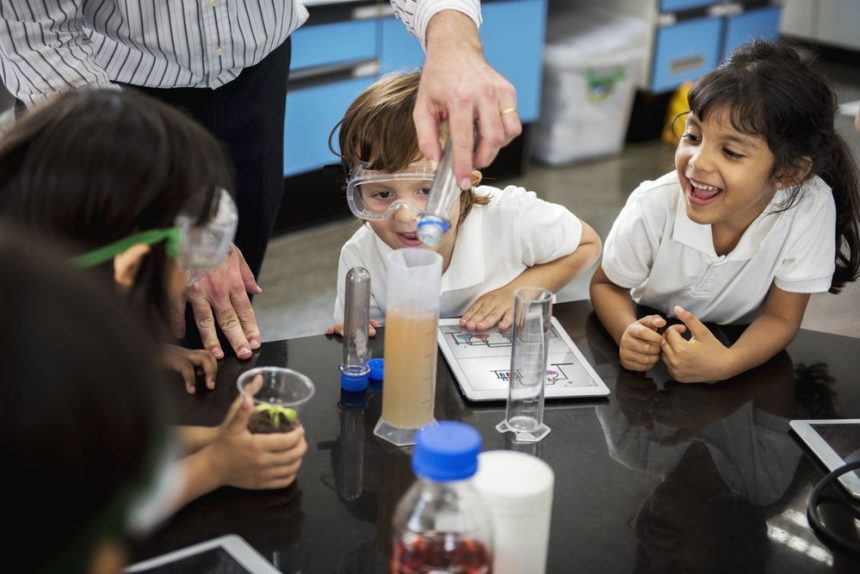
Spice up your lesson plans this science week with some of our favourite simple experiments. From concocting mysterious potions to unravelling the laws of physics, these classroom-friendly activities are all set to create unforgettable learning adventures.
Super sugar cane snake

Create this amazing sugar snake with some simple household chemicals. Using simple chemical reactions, budding scientists can produce both the solid components and hot gases that expand and inflate the snake up and out of the sand bowl.
Materials
- Icing sugar
- Bicarb soda
- Methylated spirits
- Long matches or a stick lighter
- Dry sand
- Disposable aluminium tray
- Tablespoon
- Teaspoon
- Cup
- Spoon
Instructions
- Mix 4 tsp of icing sugar with 1 tsp of baking soda
- Fill the aluminium tray with sand and create a small mound in the middle.
- Make an indent in the middle of the mound.
- Pour methylated spirits on the mound and in the indentation.
- Make sure that the sand is well-soaked.
- Spoon your sugar and baking soda mix into the centre of the mound.
- Carefully light the sand near the sugar mixture.
- The sugar and baking soda mix will begin to bubble, turning black as the snake begins to grow and take shape.
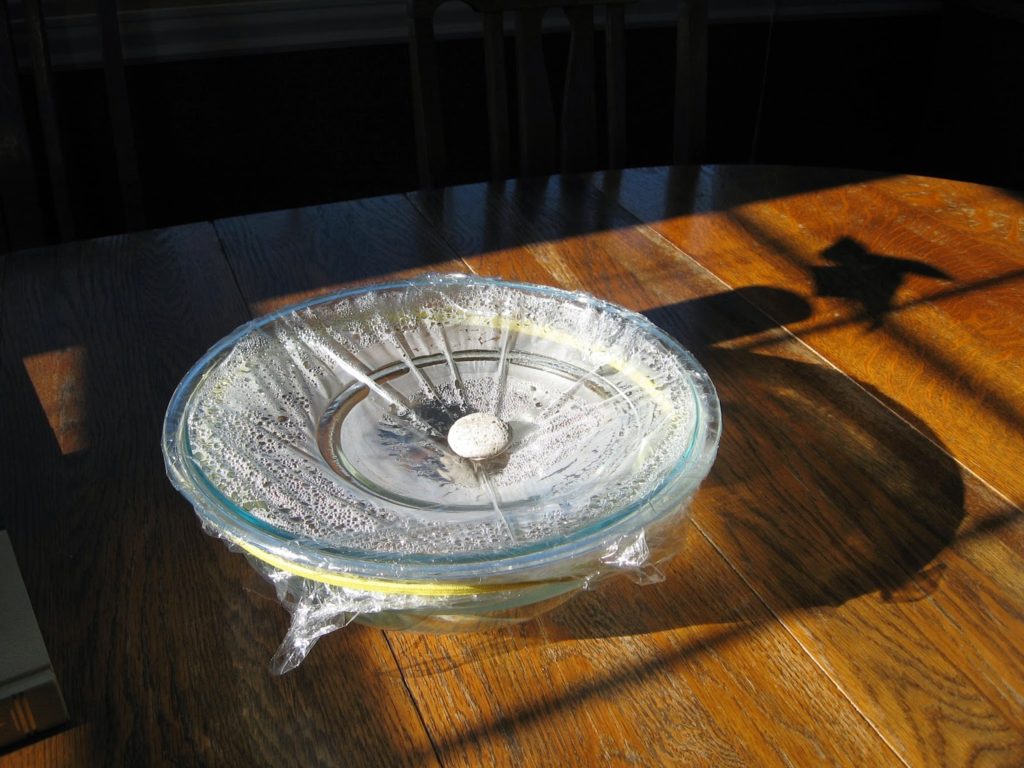
Growing crystals
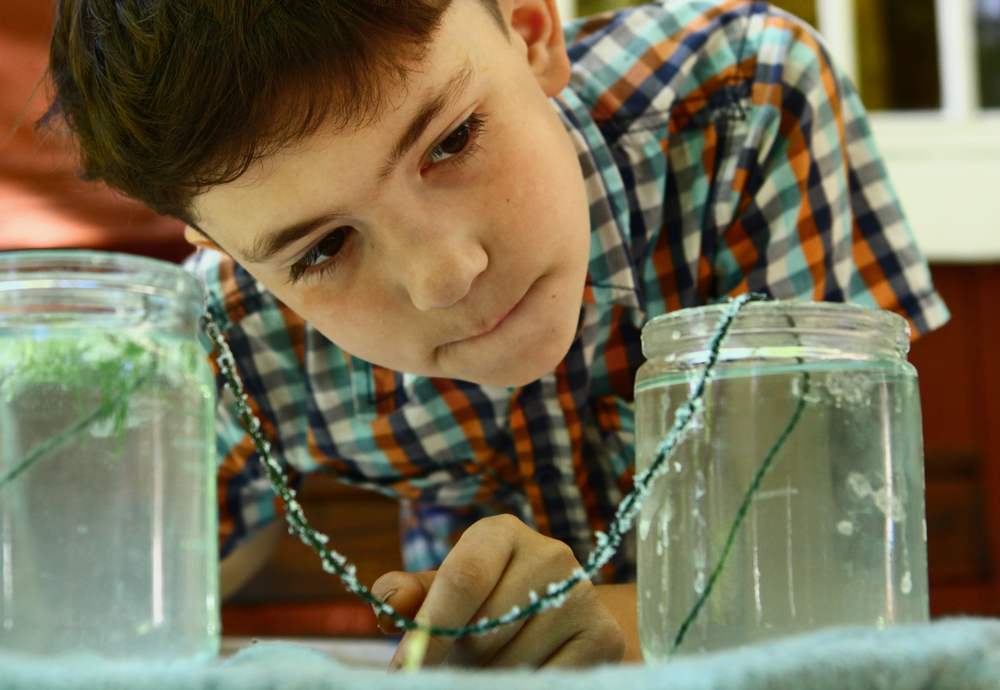
With just water and Borax, a household cleaning product, encourage students to understand the crystallisation process by growing their own. Compare the size and shape of crystals grown at different temperatures and uncover the factors affecting crystal formation.
Materials
- Pipe cleaners (2)
- Pencils (2)
- Borax (found in the cleaning aisle of many grocery stores.)
- Measuring tablespoon
- Large bowl
- Two identical glass jars
- Cooking pot
- Plastic wrap
- Ice cubes
- Water
Instructions
- Fill half a large bowl of ice cubes and then add water until about three-quarters full. If needed, adjust the water level in the bowl so the water reaches at least two-thirds.
- Twist a pipe cleaner around each of the two pencils.
- Make the pipe cleaners equal lengths.
- Fill a cooking pot with enough water to fill the jars and set to boil.
- Once the water is boiled, turn the burner off.
- Add one tablespoon at a time until it stops dissolving.
- Pour equal amounts of the Borax solution into the two jars. Each jar should be about three-fourths full.
- Hang the pipe cleaners down into the solution from pencils on top of the jars.
- Cover the jars with plastic wrap.
- Leaving the first jar at room temperature, place the second jar in the bowl full of ice.
- Leave the jars for five hours, only adding ice to the bowl if necessary.
- Check on the jars once an hour to assess the crystal formation.
- After five or more hours, carefully remove the pencils and observe the crystals on the pipe cleaners.
Oobleck science
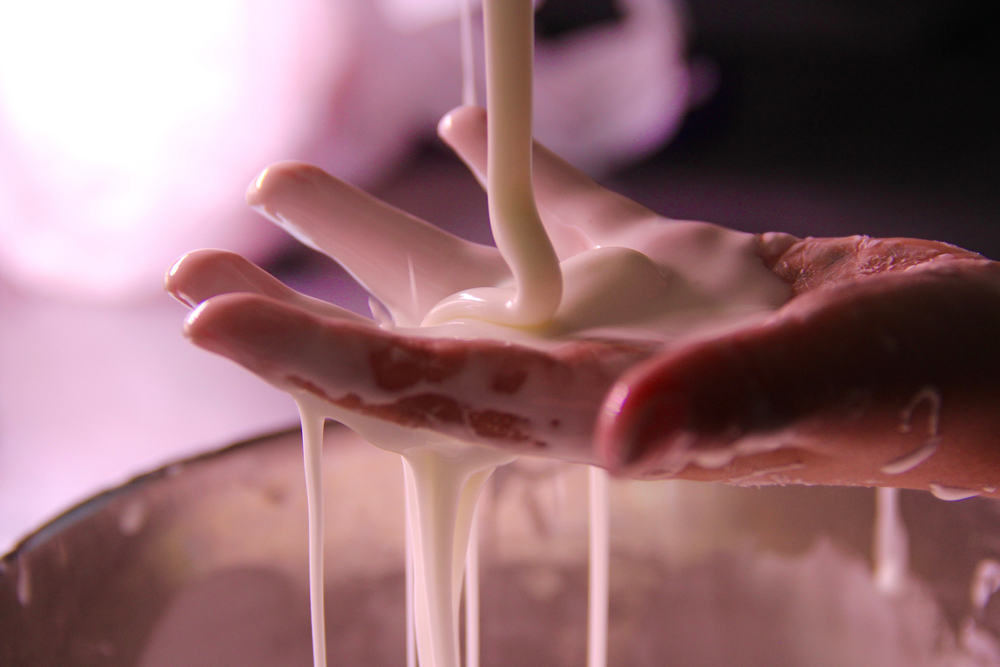
Oobleck, a mixture of cornstarch and water, is a DIY quicksand that displays “non-Newtonian behaviour”. Students will have a blast exploring its unique properties—liquid-like when stirred and solid-like when pressure is applied.
Materials
- 1 1/2 cups cornstarch
- 1 cup of water
- (Optional) Food colouring
- Icy-pole sticks
- Toys to experiment with: strainers, colander, paper clips, cotton balls, spatulas, etc.
Instructions
- Help your child measure 3/4 cup of water in a plastic measuring cup.
- Add a couple of drops of food colouring to the water.
- Measure 1 cup of cornstarch.
- Pour into a plastic bowl or bin.
- Slowly add the water and food colouring.
- Mix for about 10 minutes with the icy-pole sticks. You may need to add more water and/or cornstarch to get the consistency just right.
- Once the mixture is ready, have your students gently feel the top of the mixture.
Solar still
Demonstrate the water cycle and solar energy with a simple solar still experiment. Students can build their own devices to observe water evaporation and condensation.
Materials
- Large container
- A smaller container that fits inside the large container
- Plastic wrap
- Water
- Salt
- Rock
Instructions
- Fill the large container with water, keeping the water level below the height of the smaller container.
- Pour a few tablespoons of salt into the water and stir until the salt dissolves completely.
- Put the smaller container in the centre of the large container, pushing it down so it’s not floating.
- Cover the top of the large container with plastic wrap, leaving no gaps for air.
- Place a rock in the centre of the plastic wrap.
- Place the solar still outside under the sun for several hours. The amount of water you collect depends on the strength of the sun and how long it’s left exposed.
- Check if there is water collected in the smaller container. If so, take off the rock and plastic wrap.
- Taste the water inside the smaller container. Is it salty?
Egg in a bottle
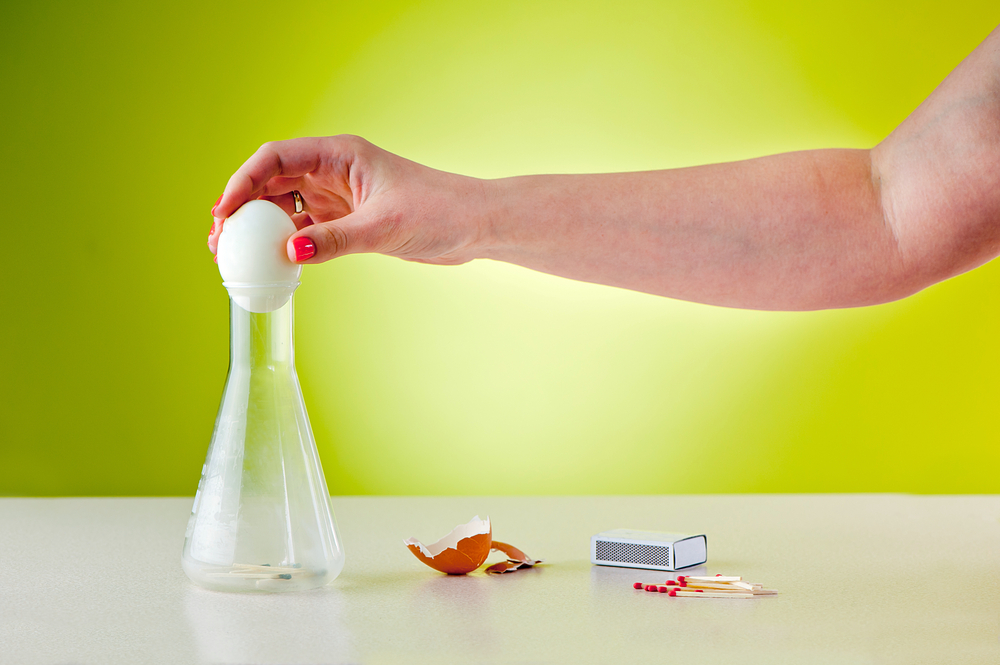
Using heat and changes in air pressure, students can make an egg get sucked into a bottle. This experiment illustrates the effects of air pressure and temperature.
Materials
- Hard-boiled egg (shell removed)
- Glass bottle
- Thick piece of paper
- Match or lighter
Instructions
- Remove the shell from the hard-boiled egg and place it in the mouth of the jar to prove it doesn’t fit within the opening.
- Remove the egg from the jar.
- Carefully set your piece of paper alight.
- Once the paper is burning, quickly drop it into the glass bottle.
- Immediately after, place the egg on top of the bottle.
- Watch as the egg begins to become slowly sucked into the bottle. If you are lucky, the egg will stay in one piece as it moves into the bottle.
Static electricity
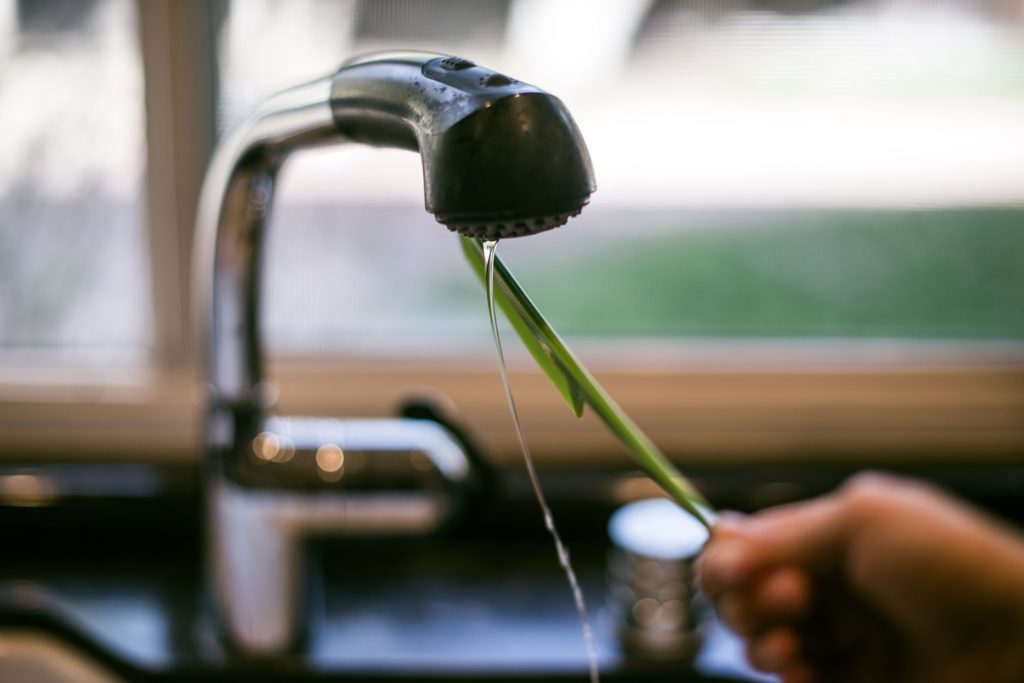
This simple experiment uses a plastic rod and water to demonstrate how static electricity can impact the flow of water, causing it to bend around the straw.
Materials
- Running water
- Piece of clot
- Plastic rod or thick straw
Instructions
- Use the fabric to rub the surface of the rod for at least 40 seconds.
- Create a light stream of water by turning the tap on.
- Place the rod close to the water and watch as the stream bends around the rod.
Invisible ink
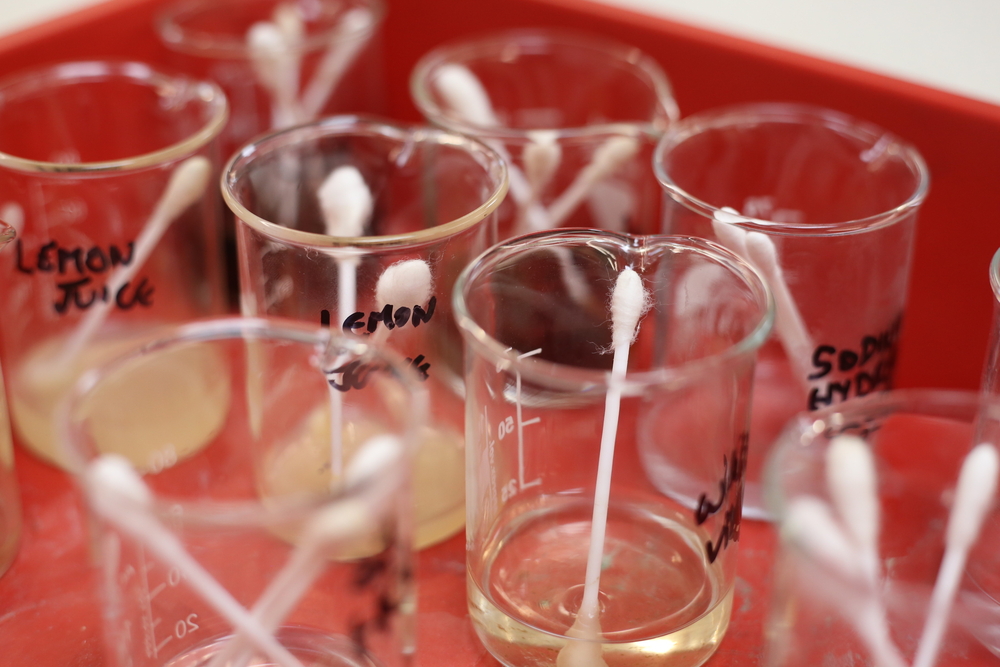
Teach students about chemical reactions and hidden messages by having them write with invisible ink made from lemon juice, which becomes visible when heated.
Materials
- Card-stock paper
- Measuring spoons
- 3 cups or small bowls
- Spoon
- Cotton-buds or a brush
- Old newspaper or cardboard
- Paper towels
- Water
- Lemon or lemon juice
- Clothes iron
Instructions
- Squeeze the juice of half a lemon into a container.
- Add half a teaspoon of water to the lemon juice and mix.
- Dip a cotton-bud into the lemon juice-water solution.
- Use the cotton-bud to write a secret message on the white card-stock paper. Re-wet your Q-tip if necessary.
- Let the paper dry completely.
- Plug the iron on the high setting and carefully run the hot iron over the paper several times to reveal the message.
Rain cloud in a jar
Making a rain cloud in a jar is a great way to help kids visualise how raindrops form. It’s an easy science activity you probably already have the supplies for in your kitchen.
Materials
- Water
- Shaving cream
- Food colouring or liquid watercolour
- Dropper or pipette for liquid watercolours
Instructions
- Fill your jar ¾ full with water
- Put a large dollop of shaving cream on top of a jar of water.
- Add drops of liquid watercolour or food colouring.
- Once the shaving cream is saturated enough, it will start to rain.
Bernoulli Experiment
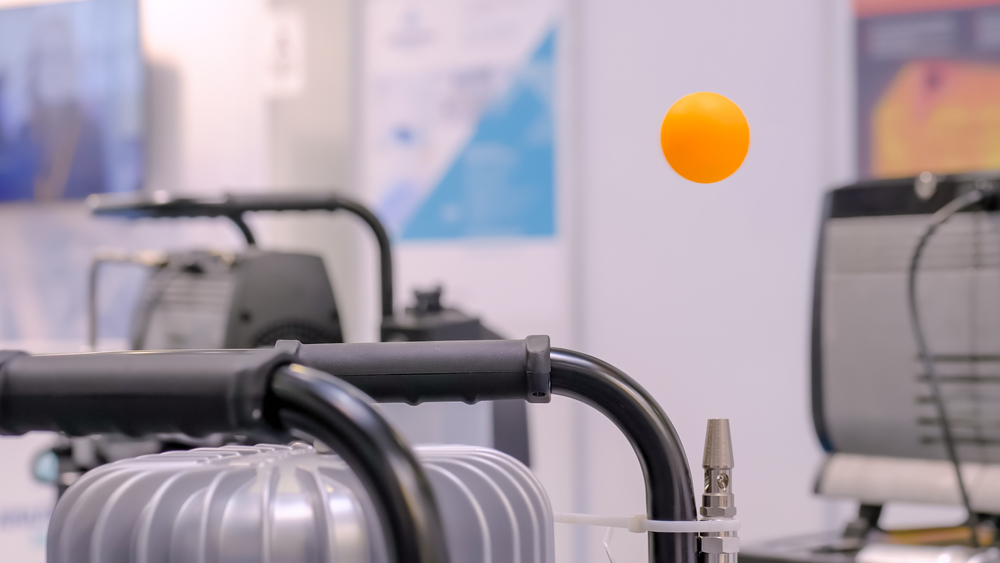
Using basic household items, the Bernoulli experiment is an excellent way to teach students about air pressure in the air and demonstrate how planes are able to maintain their high altitude.
Materials
- Tape
- Bendy straw
- Ping pong ball
- Funnel
Instructions
- Tape the funnel at one of the bendable straw, leaving no gaps for air.
- Bend the straws into an “L” shape and position the straw with the short part of the “L” pointing upward.
- They can then balance the ping pong ball onto the short part of the “L” with the funnel.
- Blow into the straw firmly and continuously. Try to keep the ping pong ball in place.
Homemade lava lamp
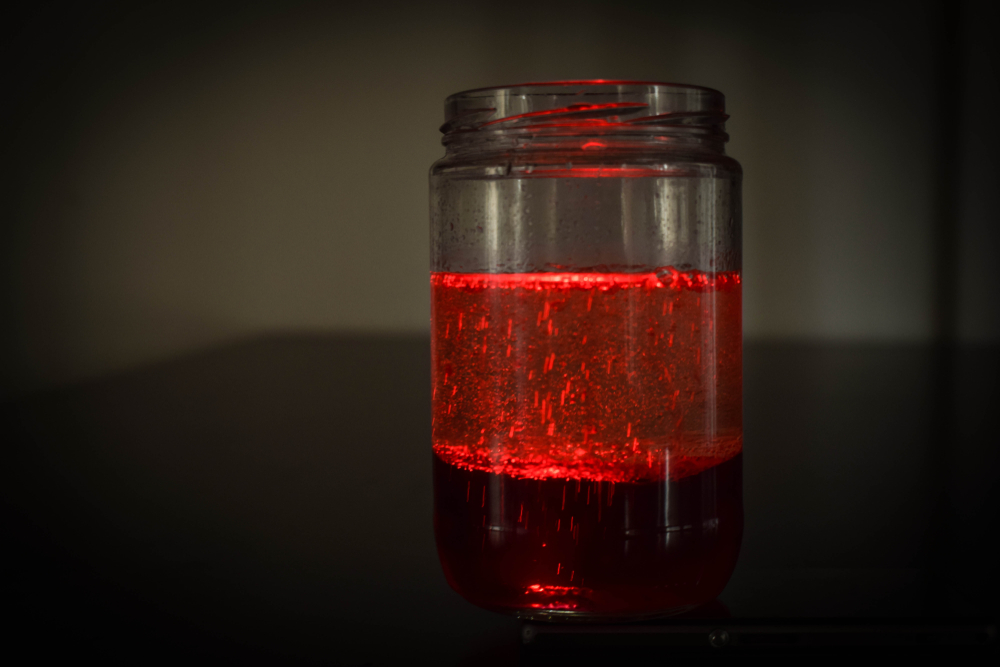
This homemade lava lamp science project is a great way to teach students about density levels, giving them a memorable lesson they can take home with them.
Materials
- Bottle (check your recycling bin)
- Water
- Oil (use whatever is cheapest)
- Food colouring
- Alka-Seltzer tablets
Instructions
- Fill the bottle 1/3 of the way full with water.
- Fill the bottle almost to the top with oil.
- Add the food colouring.
- Let the food colouring settle through the oil and mix with the water
- Break up the Alka-Seltzer tablet and add it to the top of the bottle to ignite a reaction.
- Once it starts to slow down, add another tablet